Do you have an old sewing machine table that’s been collecting dust in your attic or garage? Restoring and refinishing it can breathe new life into this vintage piece of furniture, and it’s a rewarding DIY project to take on. Whether you’re a sewing enthusiast or simply appreciate the charm of vintage furniture, refurbishing an old sewing machine table can be a fun and creative endeavor.
Sewing machine tables have a rich history and are often cherished heirlooms. They were designed to hold sewing machines and provide a stable platform for sewing tasks. Over time, these tables may have become worn-out, with chipped paint and rusty hardware. But with some effort and creativity, you can transform an old sewing machine table into a stunning and functional piece for your home.
In this article, we’ll explore the process of restoring and refinishing an old sewing machine table. From selecting the right table to applying chalk paint and adding finishing touches, we’ll guide you through the steps to bring new life to this classic piece of furniture.
Selecting the Right Sewing Machine Table
Selecting the Right Sewing Machine Table
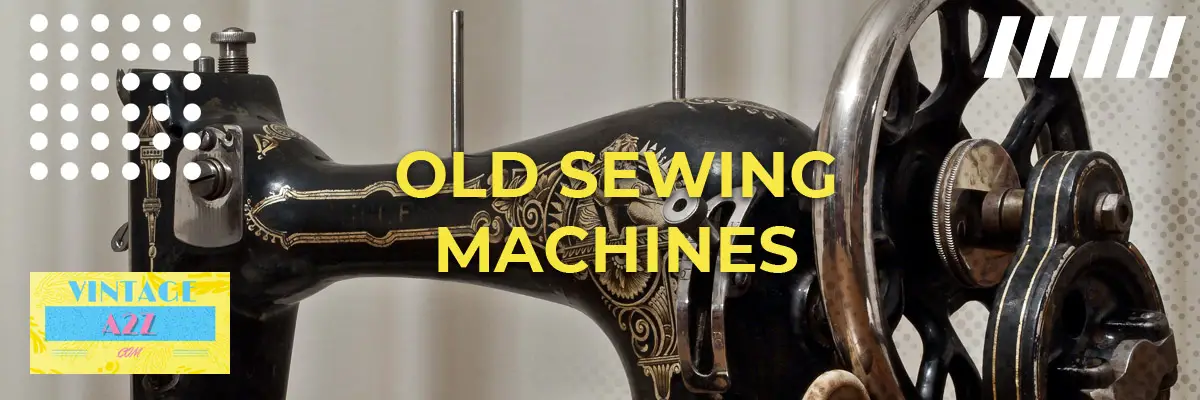
A sewing machine table is a staple for any tailor or hobbyist – but it’s not about just having any table. Modern and antique options offer unique benefits, including ergonomic designs and extra storage. For those passionate about history and design, vintage sewing tables, especially from Singer, the oldest sewing brand established in 1851, can be an exciting choice.
When selecting the right sewing machine table, consider these points:
- Sturdiness: Ensure the table can support your sewing machine’s weight without wobbling.
- Surface Area: A spacious top is vital for handling fabrics with ease.
- Storage: Look for tables with drawers or shelves for your sewing essentials.
- Style: Antique tables, like those found on Bidsquare, add a historical charm to your space.
- Utility: Modern tables might feature rolling wheels for easy movement or folding designs for space efficiency.
Incorporating an antique sewing machine table into your home not only boosts its aesthetic value with a vintage flair but also honors the history of sewing. For a seamless fit, make sure the table’s measurements suit your work area, and consider its potential as a cherished heirloom for years to come. Remember, the right sewing machine table blends functionality with pleasure, turning your sewing zone into a creative sanctuary.
Popular Picks:
- Vintage Singer Treadle Table
- Giantex Folding Sewing Craft Table with Wheels
- Alice Compact Mid-Size Sewing Cabinet
Vintage or contemporary, your sewing machine table is more than just a flat surface; it’s the foundation of countless projects and a center for inspiration.
Step 1: Cleaning and Preparing the Table
Embarking on the journey of transforming an old sewing machine table into a shabby-chic masterpiece, the first and foremost step is meticulous cleaning and preparation. This foundational phase is crucial to ensure a professional-grade finish, paving the way for a remarkable restoration project.
Removing Old Paint and Dirt
Before any cosmetic work commenced, it was essential to strip the table of its antiquated layers and entrenched grime. Tackling the vestiges of years gone by, this renewal process began by sanding down the sewing machine table with an initial 150 grit sandpaper. Progressing with patience and precision, finer granules were then employed, culminating in a 220 grit finishing paper. This diligent sanding not only liberated the table from its old paint but also buffed away any dirt, setting the stage for a pristine and receptive surface.
Sanding and Smoothing the Surface
Once the aged paint and persistent dirt were dispatched, the focus shifted to refining the table’s surface. The methodical progression from coarse to fine sandpaper was instrumental in eradicating imperfections; the 150 grit to start for the heavier abrasions followed by the 220 grit for that final velvety touch. The ensuing result was a tabletop that was not only smooth to the touch but an impeccable canvas ready for the transformational power of paint.
Sanding also played a pivotal role in achieving an authentic distressed look, with strategic grazes along the corners and edges. The combination of focused distressing and comprehensive smoothing was a decisive step, bridging the rich history embedded within the table with its future aesthetic appeal.
Through this labor of love, complete with vigilant cleaning and painstaking sanding, the stage was perfectly set for the enchanting metamorphosis of the old sewing machine table. With a surface primed to perfection, the subsequent chapters of its restoration story awaited, eager for the delicate application of color and the resurgence of its bygone elegance.
Step 2: Applying Chalk Paint
Once the old sewing machine table is prepped and smooth, the truly transformative stage of applying chalk paint begins. When selecting the ideal color and finish, consider the desired ambiance of the piece. Chalk paint offers a matte finish that is perfect for creating a vintage, shabby-chic look. If contemplating a light color, keep in mind that lighter shades, such as those in Annie Sloan’s (AS) chalk paint line, may require up to three coats to achieve full coverage, especially if the wood is dark or if you’ve skipped the priming stage.
Applying Multiple Coats for Durability
Durability is key when refurbishing a vintage sewing table. To this end, applying multiple coats of chalk paint, interspersed with fine sanding, ensures a solid and smooth finish. Begin with a thin, even coat of your chosen chalk paint. Allow it to dry completely, then lightly sand the surface with fine-grit sandpaper to promote adhesion and reduce any brush strokes or imperfections.
Subsequent coats should follow this same pattern: apply, dry, and sand. The patience in this repetitive process pays off with a rich, consistent finish that feels as good as it looks. For added robustness and to protect your meticulous work, a clear top coat — such as Varathane water-based Polyurethane in a satin finish — is a wise final step. Apply two coats with a clean brush, allowing a full 24 hours of drying time between them.
The result? A professionally rejuvenated sewing machine table that’s ready for many more years of use. Whether it’s to be a conversation piece in your living space or a functional workspace, the enduring charm of your vintage find is now both seen and preserved.
Step 3: Finishing Touches
After meticulously applying chalk paint and a protective top coat, your old sewing machine table is nearly ready to reclaim its place in your home. Yet, it’s the Finishing Touches that elevate your restoration project from simply refreshed to truly remarkable. This phase is all about ensuring that the quality standards you’ve upheld throughout are mirrored in the finest details of your piece, culminating in a professional and polished result.
During the Finishing Touches, review your work carefully, looking out for any missed spots or potential imperfections that could detract from the overall appearance. Fine-tune by touching up paint or adding those last strokes where needed. At this juncture, the aesthetic elements are crucial, so consider the layout and design if you’re including any visual embellishments such as decals or stenciling.
Pay close attention to formatting as well. The layout of your drawers, for instance, should be measured and symmetrical if they include labeling or decorative hardware. Double-check that these elements comply with your overall design theme. If you opt to add graphics or images — say, of classic sewing machines or patterns — ensure they’re high-resolution and tastefully aligned with the overall feel of the vintage sewing table.
Adding New Hardware
The transformation of your sewing machine table extends to functionality as well as form. With the paint and top coat drying to perfection, it’s time to turn your attention to the utilitarian aspects — such as the hardware. The drawer pulls and knobs might seem like small details, but they make a world of difference in the final appearance of your vintage sewing table.
Updating your table with new hardware can be the defining touch that brings your piece into the limelight. For this project, selections were made from the plethora of options at Hobby Lobby, known for their vintage-style craft supplies. The hardware chosen should articulate the table’s antique vibe, hence, pieces with a shabby-chic essence were sought after to endorse that classic feel.
Installing new hardware is straightforward. First, ensure your new pieces align with the existing holes. If not, you may need to fill the old holes and carefully drill new ones. Attach each piece firmly, but take care not to strip the delicate wood by over-tightening the screws. The resulting look should be a harmonious blend of old-world charm and updated functionality—the hallmark of a successful furniture flip.
Optional: Distressing for a Vintage Look
For enthusiasts aiming to achieve an authentic antique appearance, distressing the sewing machine table adds the paradoxical element of ‘perfect imperfection.’ It’s an optional process, but one that can imbue your table with the character and patina of yesteryear.
Distressing mirrors the natural wear and tear accumulated over decades. This can be achieved by strategically sanding down edges, corners, and other high-use areas to expose the underlying wood or previous layers of paint. The table below outlines basic distressing techniques and the tools required for each:
| Technique | Recommended Tool | Expected Result |
|---|---|---|
| Light Sanding | Fine-grit Sandpaper | Softening of surfaces and edges |
| Scraping | Putty Knife or Scraper | Removal of paint layers for aged effect |
| Wet-Distressing | Damp Cloth | Subtle wear patterns and texture |
| Two-tone Distressing | Secondary Paint Color | Depth and contrast with underlying colors |
Remember, the goal is not to damage but to dexterously weather the piece. Adopt a gentle hand and step back frequently to assess progress and maintain symmetry in the table’s distressed look. Your objective is a timeworn yet still dignified piece, exuding the mysterious allure only found in well-loved antique sewing machines and their accompaniments.